Contents
- PyQt5 Tutorial - 파이썬으로 만드는 나만의 GUI 프로그램
- 1. PyQt5 소개 (Introduction)
- 2. PyQt5 설치 (Installation)
- 3. PyQt5 기초 (Basics)
- 4. PyQt5 레이아웃 (Layout)
- 5. PyQt5 위젯 (Widget)
- 6. PyQt5 다이얼로그 (Dialog)
- 7. PyQt5 시그널과 슬롯 (Signal&Slot)
- 8. PyQt5 그림 그리기 (Updated)
- 9. PyQt5 실행파일 만들기 (PyInstaller)
- 10. PyQt5 프로그램 예제 (Updated)
- ▷ PDF & 예제 파일
Tutorials
- Python Tutorial
- NumPy Tutorial
- Matplotlib Tutorial
- PyQt5 Tutorial
- BeautifulSoup Tutorial
- xlrd/xlwt Tutorial
- Pillow Tutorial
- Googletrans Tutorial
- PyWin32 Tutorial
- PyAutoGUI Tutorial
- Pyperclip Tutorial
- TensorFlow Tutorial
- Tips and Examples
아나콘다 설치
파이썬만을 설치하기 보다는 아나콘다 통합 패키지 설치를 추천합니다.
아나콘다는 파이썬을 포함해서 수많은 모듈을 포함하고 있습니다.
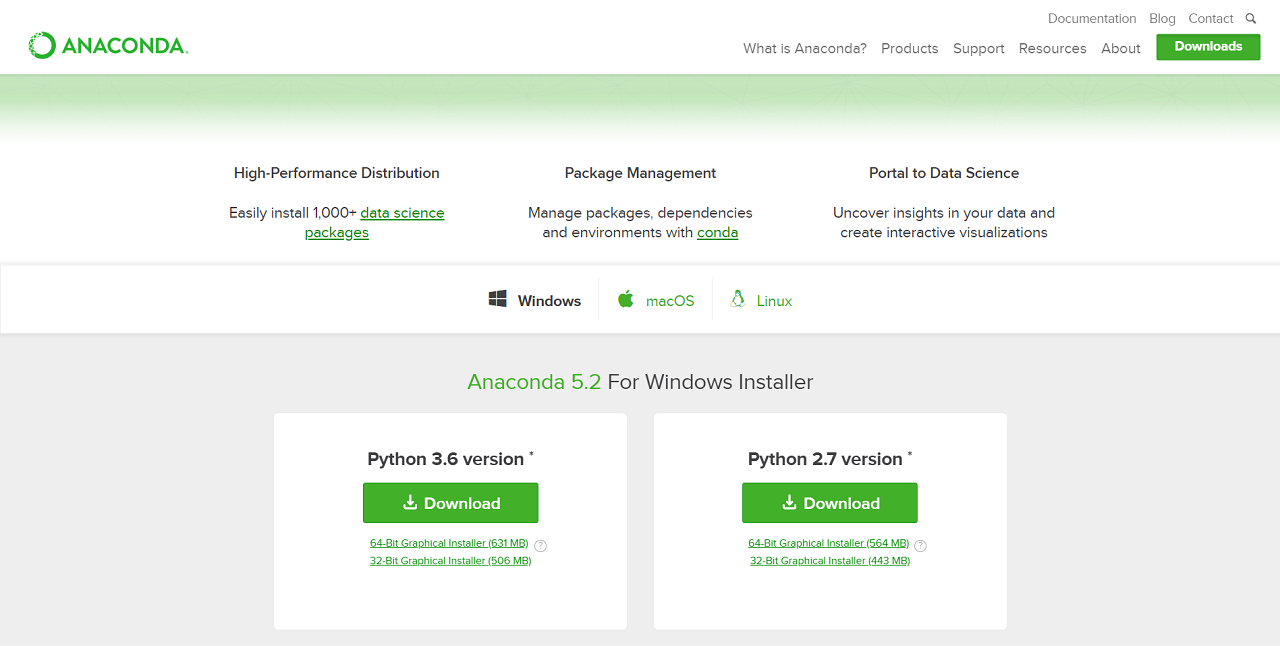
1. 다운로드하기
다음의 공식 홈페이지에서 다운로드 받을 수 있습니다. (https://www.anaconda.com/download/)
Windows, macOS, Linux를 지원합니다. Python 3.x 버전을 선택합니다.
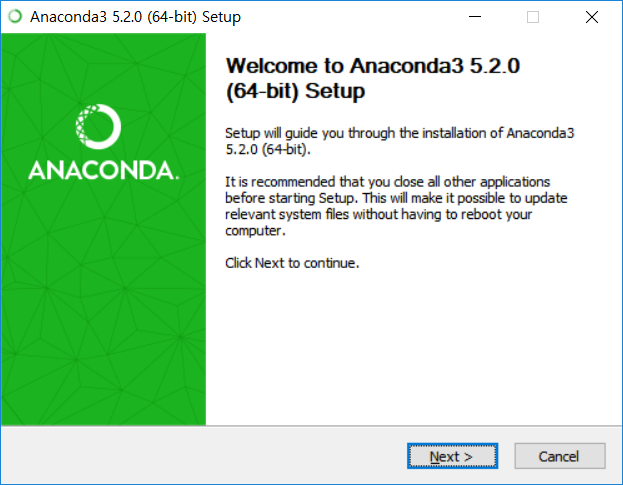
2. 설치하기
다운로드한 파일을 실행합니다.
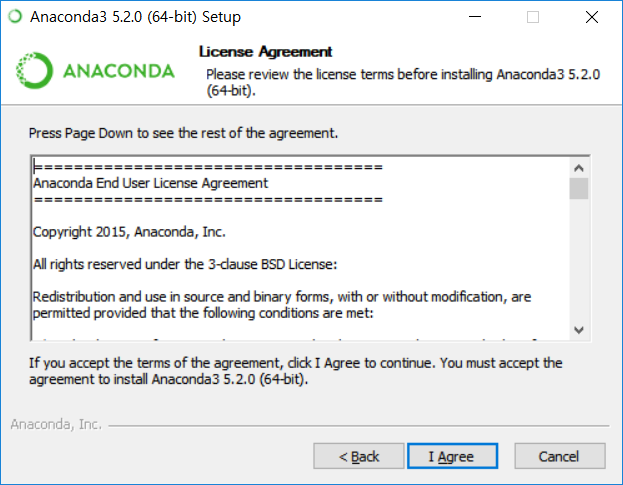
동의합니다.
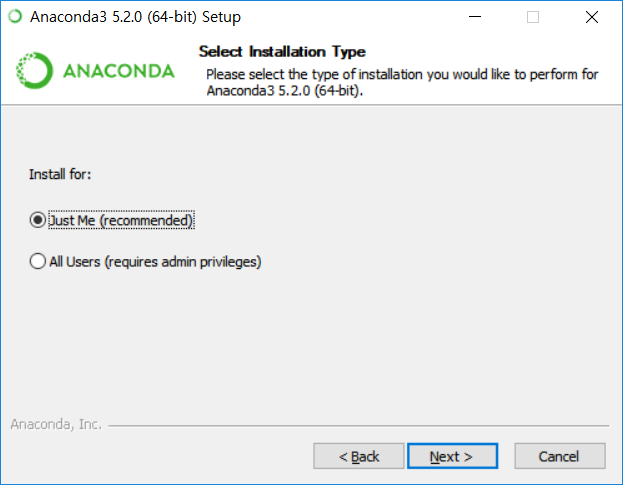
사용자를 선택해줍니다.
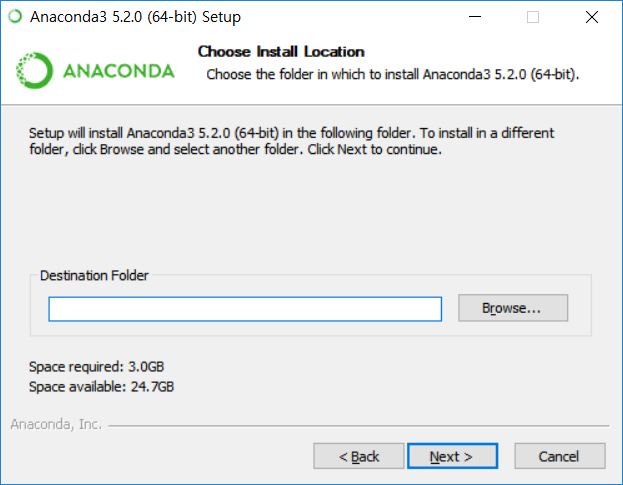
설치 경로를 기본 경로로 선택해줍니다. 3.0GB의 빈 공간이 필요합니다.
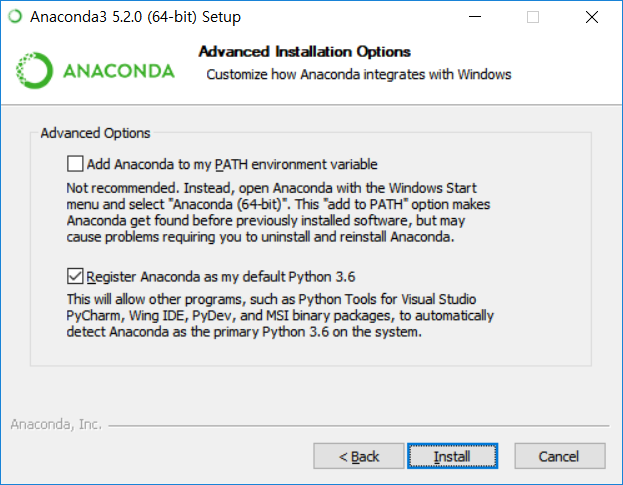
아나콘다를 기본 파이썬으로 설정하고, Install 버튼을 클릭합니다.
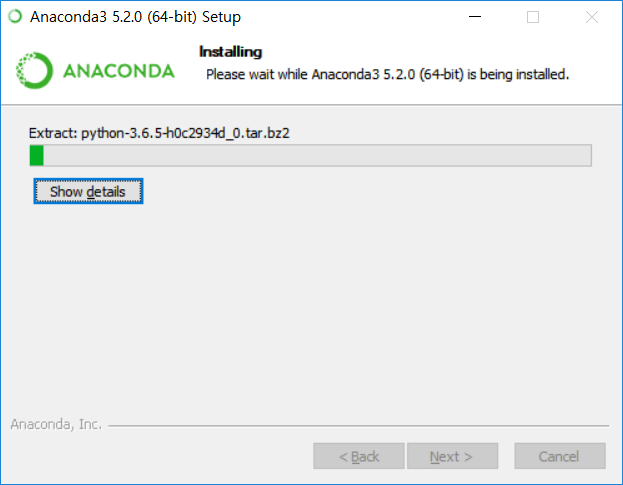
설치가 시작됩니다.
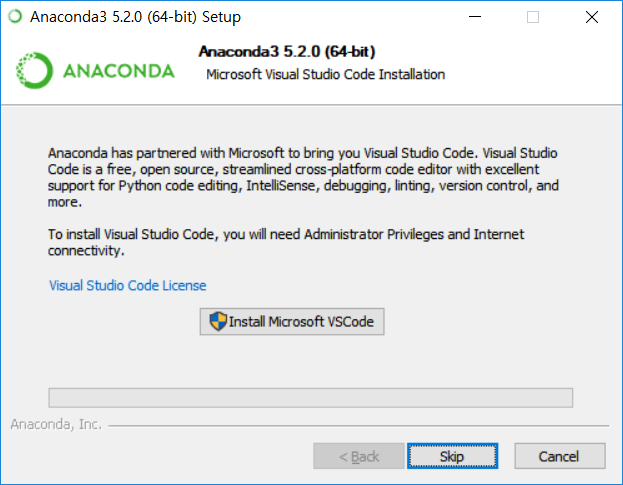
Skip 버튼을 클릭합니다.
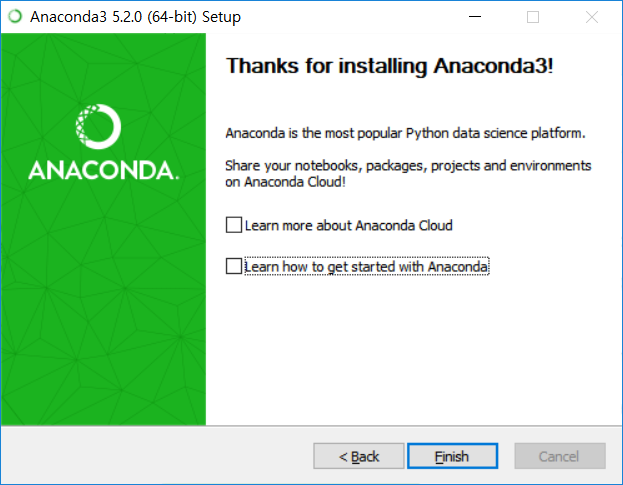
Finish 버튼을 클릭해서 설치를 완료합니다.
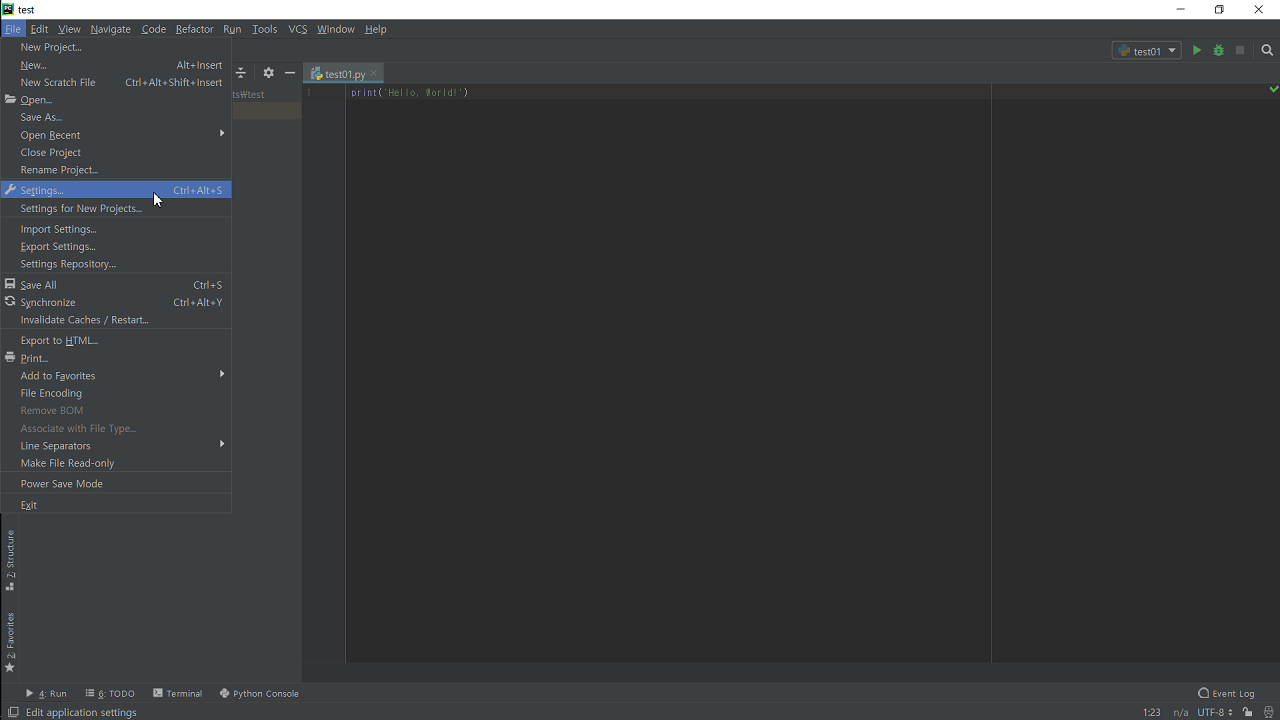
다시 파이참을 실행해서, File -> Setting을 클릭합니다.
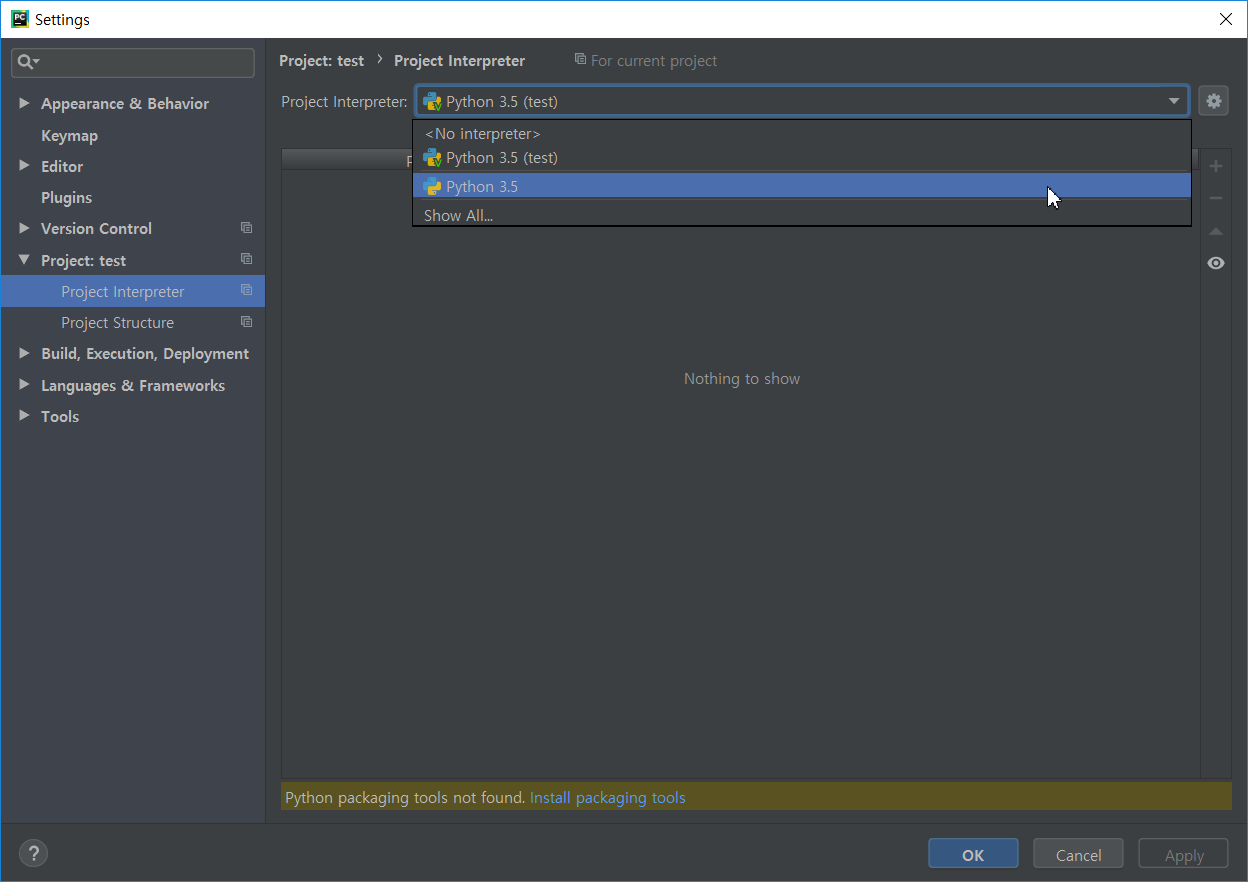
프로젝트 인터프리터로 가서 아나콘다 폴더의 python.exe를 선택해줍니다.
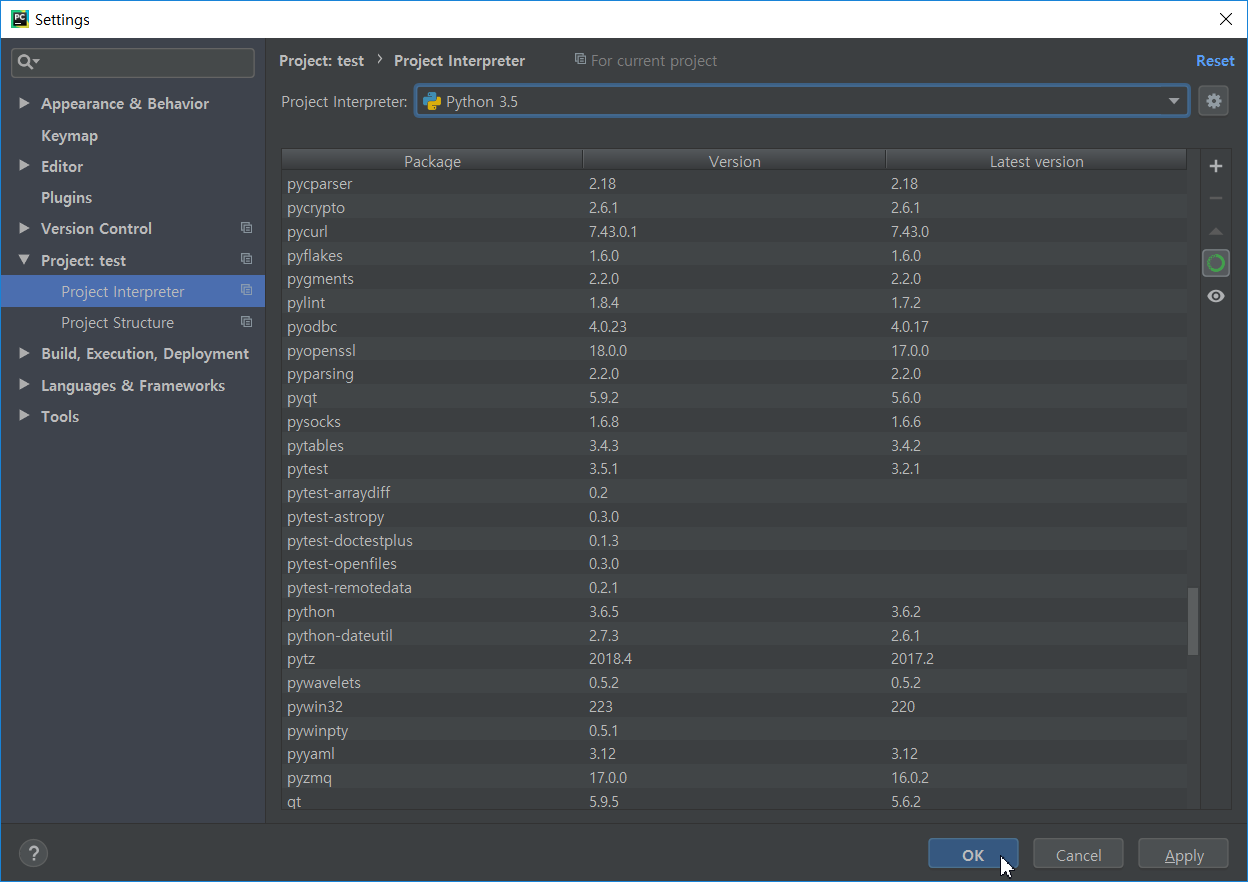
다양한 패키지가 포함되어 있습니다. python과 pyqt도 확인합니다.
‘OK’ 버튼을 클릭합니다.
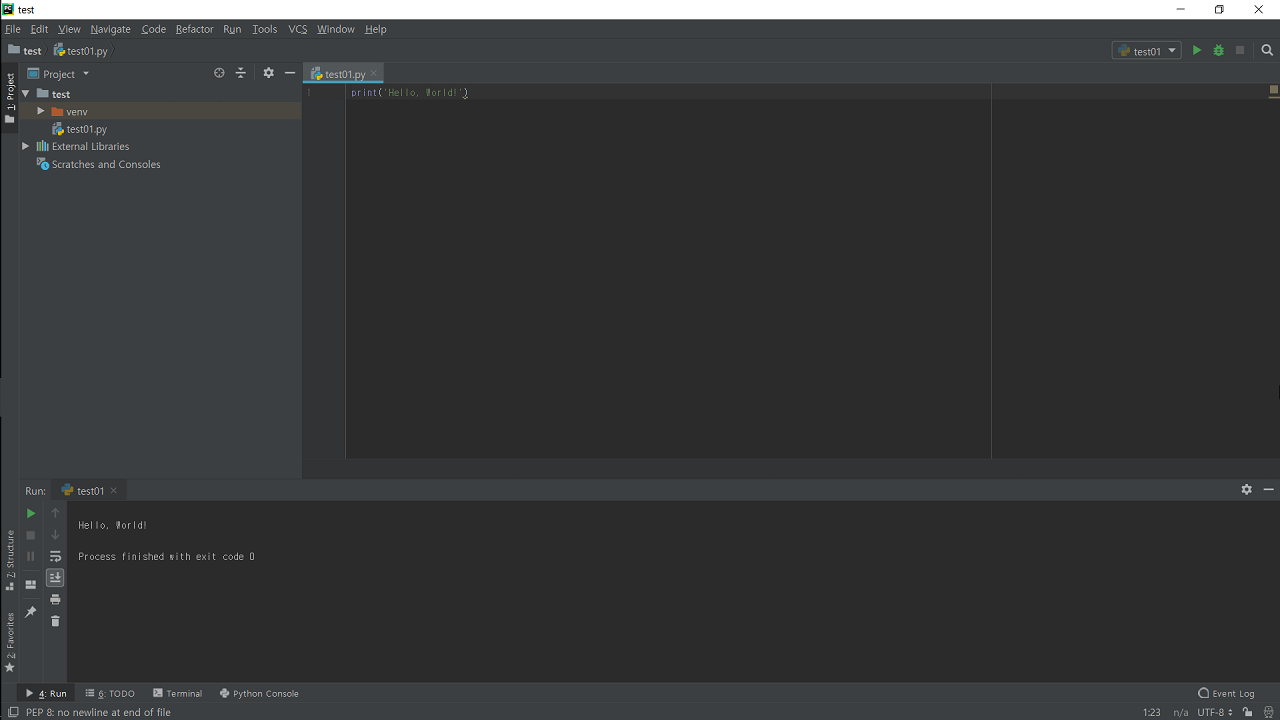
이제 코드를 실행하면 결과에 ‘Hello, World!’가 출력되는 것을 확인할 수 있습니다.
이제 파이썬과 PyQt5를 이용해서 GUI 프로그래밍을 시작할 준비가 되었습니다. 간단한 프로그램부터 만들어 보겠습니다.
이전글/다음글
이전글 : 파이참 설치
다음글 : 3. PyQt5 기초 (Basics)
Show/Post Comments >