Install Anaconda
It’s more recommended to install Anaconda instead of only installing Python. Anaconda contains many modules including Python.
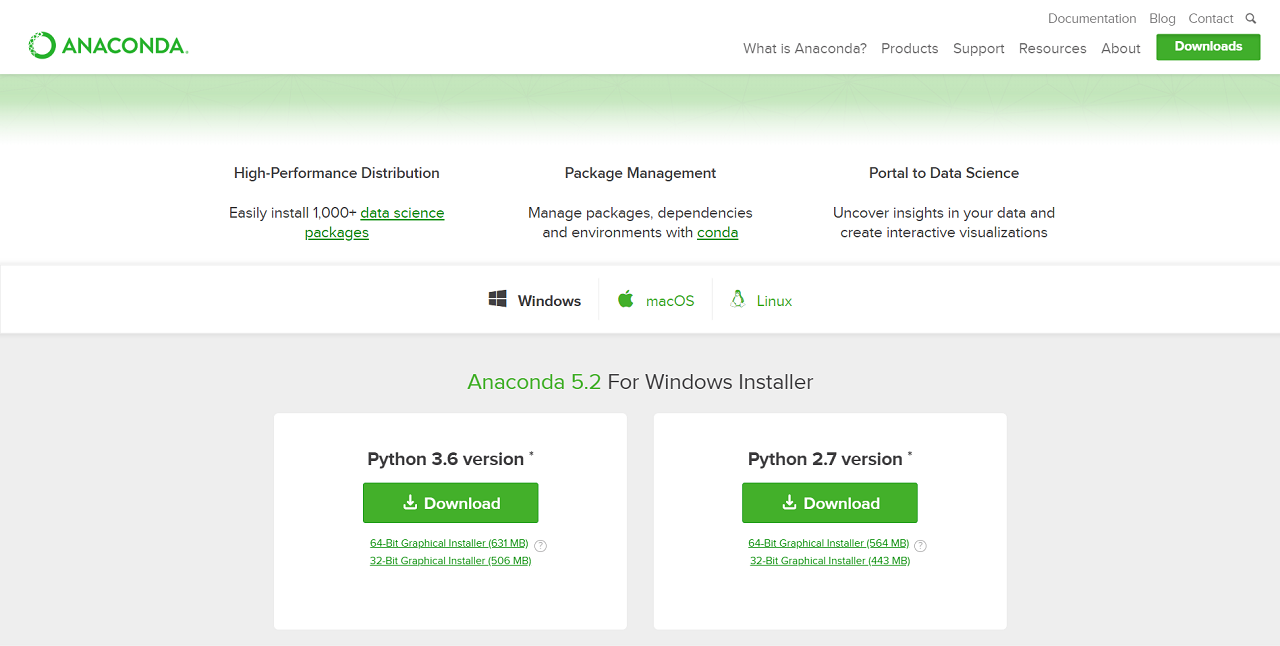
STEP 1. Download
You can download Anaconda from its official website. ( Link )
It supports Windows, macOS, and Linux. Choose Python 3.x version.
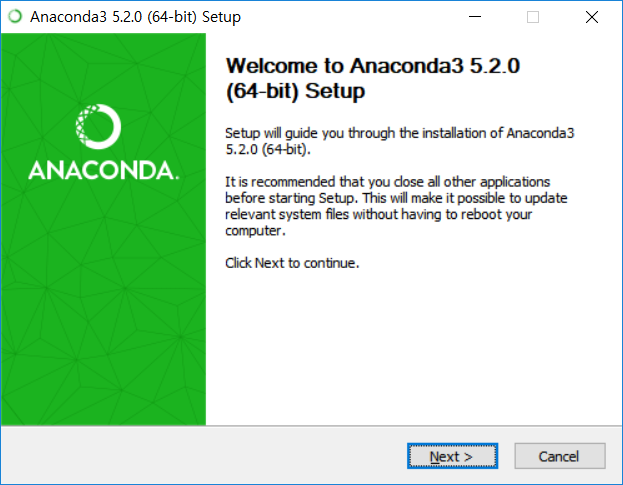
STEP 2. Install
Run the downloaded file.
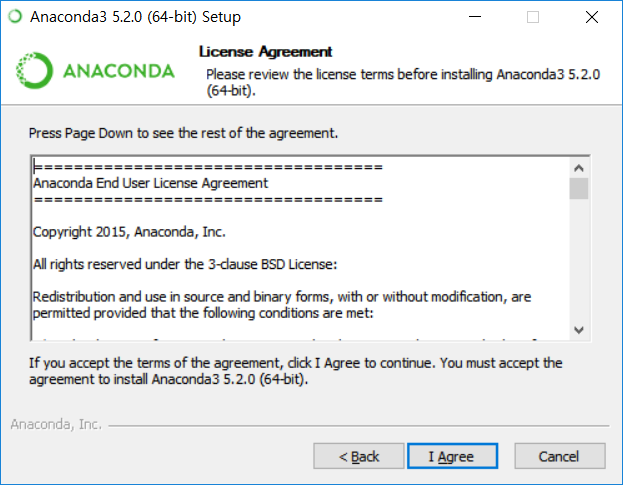
Agree.
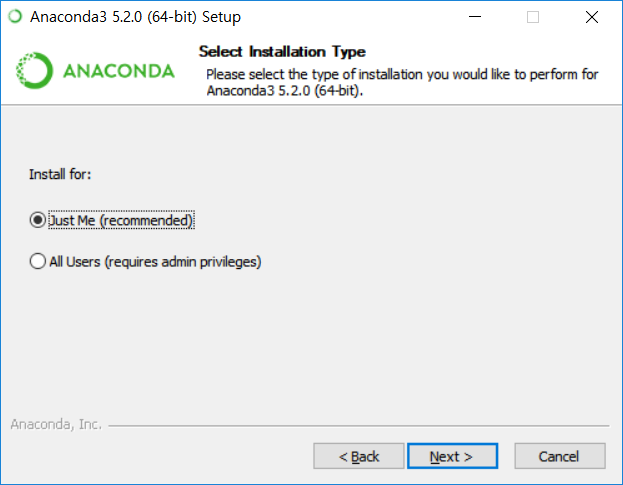
Select installation type.
Choose the default location as the install location. 3.0GB of space is required.

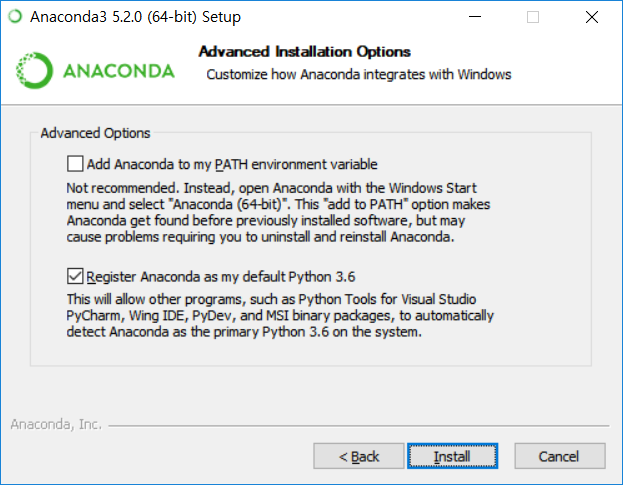
Register Anaconda as default Python and click ‘Install’.
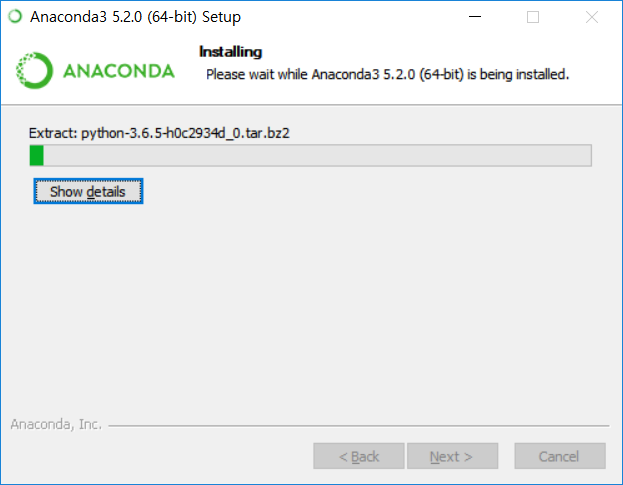
The installation begins.
Click ‘Skip’.

Click ‘Finish’ to complete installation.

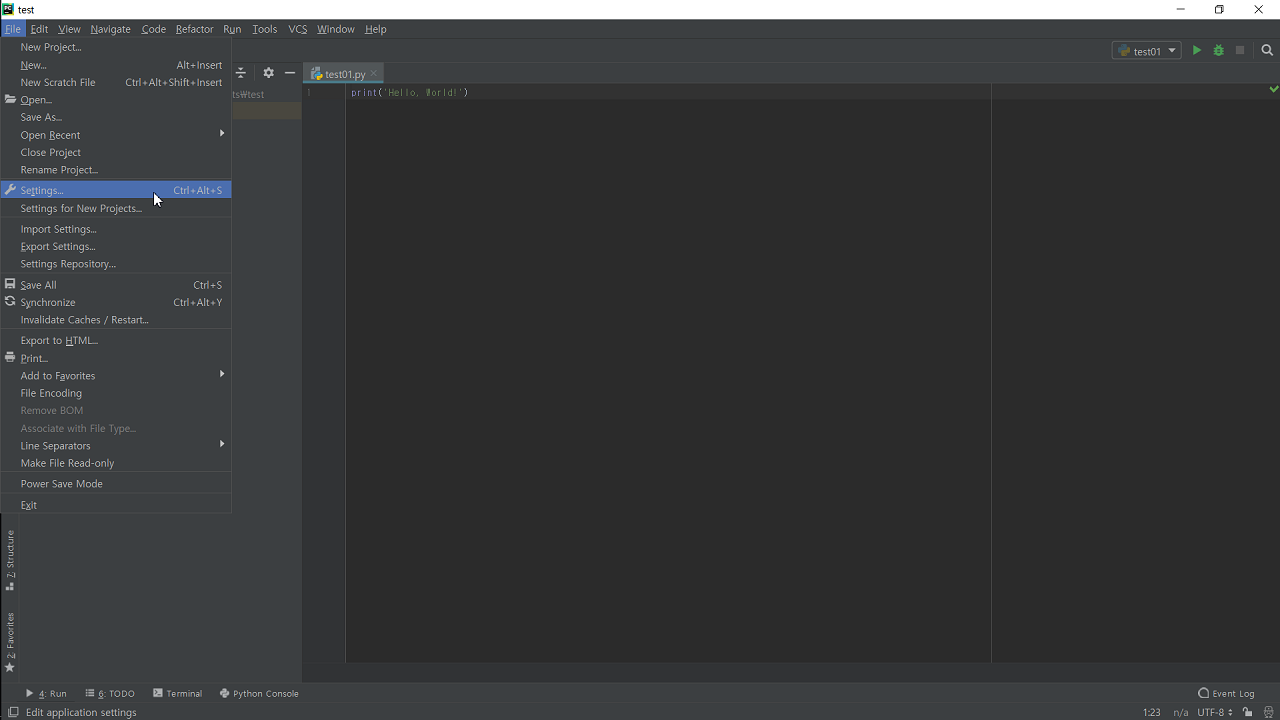
Now run Python and click File -> Setting.
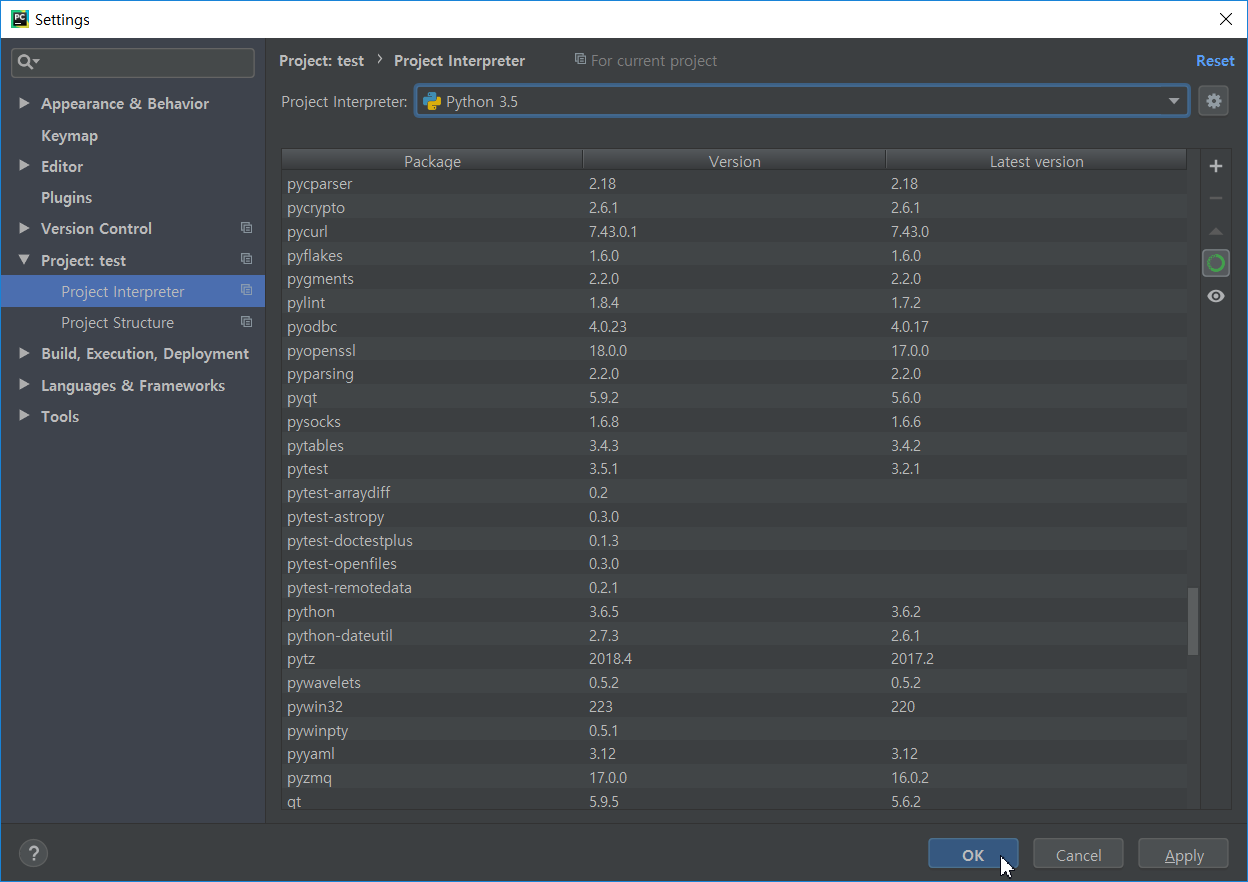
Go to Project Interpreter and select python.exe from Anaconda folder.
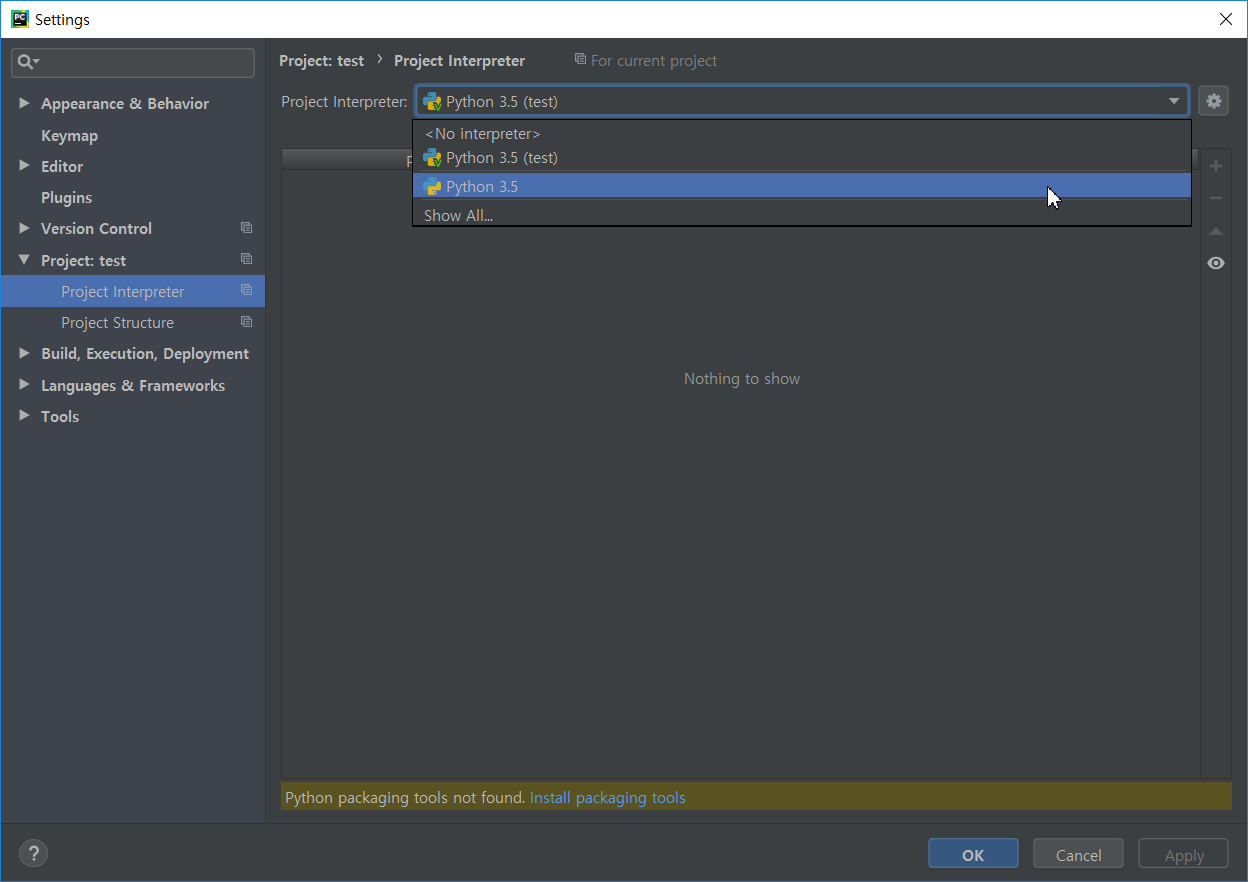
Various packages are included. Check python and pyqt.
Click ‘OK’.
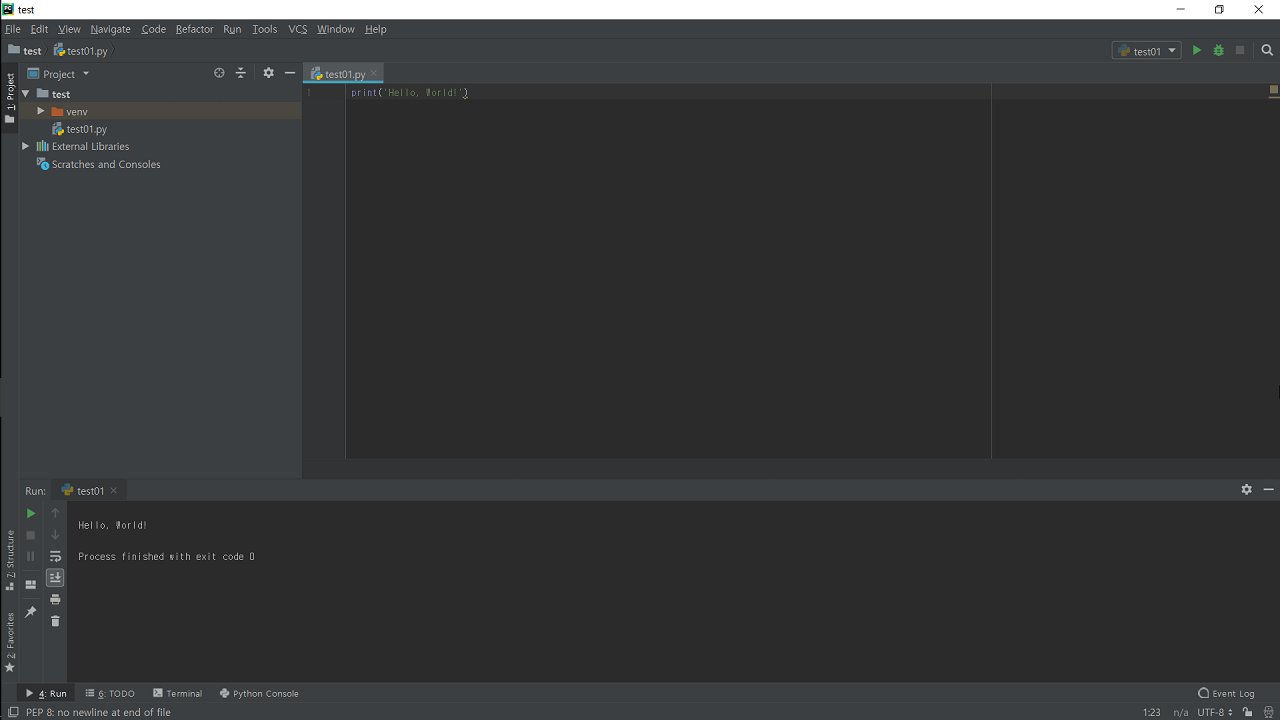
Now when you run it, you can see ‘Hello, World!’ printed in the result.
Now you’re ready to use Python and PyQt5 to start GUI programming. We’ll begin with simple programs.